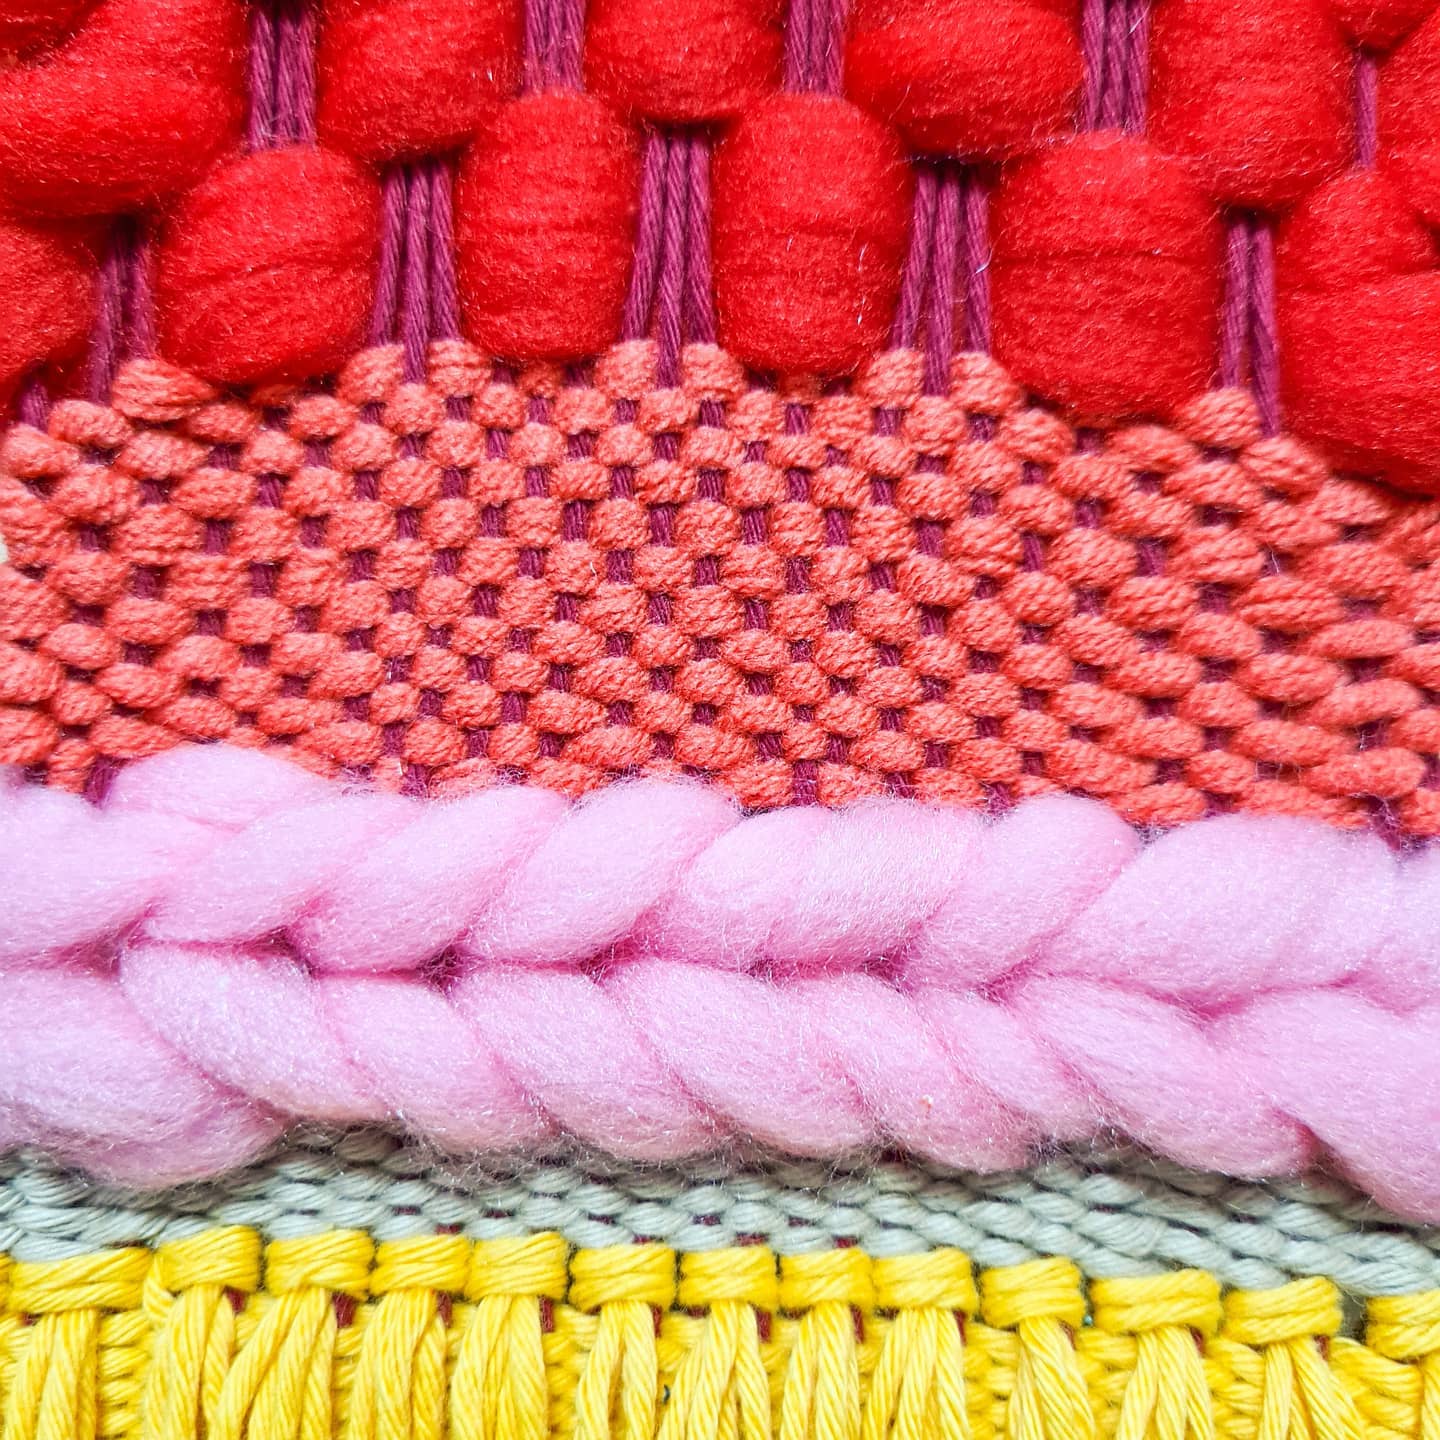
Weave-It-Yourself: Potholder
Hi, here's the online guide for Weave-It-Yourself: Potholder Weaving! When you use a weaving loom with nails on all sides and use a shirt/fabric yarn as your main material, it is traditionally known as Potholder Weaving.
In other countries, they use 'loops' or stretchable fabric with sewn ends that resembles something like a hair tie. In the Philippines, the weavers use retaso or discarded fabric because they are cheaper and more accessible, but the preparation for it to be ready for weaving takes so much longer compared to using the loops. We have also bigger loom sizes to accommodate bigger projects and have popularized doormat weaving among low income and urban poor communities.
This small Potholder Weaving activity hopefully helps you how to weave your own potholder through easy-to-follow video guides and patterns as well as demonstrate the hard work behind creating a humble potholder made by communities that are present in most Filipino households.
The weaving process is easy but the preparations take longer. This guide will be divided into three parts: Preparing your fabric, Weaving proper, and the Finishing techniques. Let's get started!
Materials needed:
You may purchase a kit available on this website or feel free to prepare and source your own!
- Weaving loom
- Fabric yarn
- Scissors
- Masking tape or rubber band
- Crochet Hook
- Needle
The weaving loom dictates the size of your project so it's best to know your desired Potholder size. I recommend to start with a smaller loom to help you learn the basics easier. The Potholder kit I sell on the website is a 7.5in x 7.5in and finishes a potholder size of 5in x 5in.
For the fabric, the type of retaso fabric that is used by doormat weavers that can be sourced here is called String Retaso. I'm assuming it is because of the way it was cut that's specifically catered to doormat weavers. The fabric needed has to be stretchy or else you will find yourself having a hard time with weaving it. I have used a cotton fabric from an old shirt and compared to a string retaso, it needs more loose tension and patience. Feel free to experiment with different fabric and maybe you can share your insight about them as well!
Part 1: Preparations
Preparing your fabric may take longer than the weaving itself, and it's because you need a narrow width for the fabric you want to use. If you have sourced your own fabric, below is a guide on how to cut properly when you have different shapes and sizes to work with.
After cutting, you will need to stretch the fabric to shape it up so that it looks nice when woven. Here's a short demo on how you can effectively stretch your fabric ready for weaving.
Key steps:
- Fold and cut your fabric to help keep the width consistent. Uneven widths are hard to manage but you can always use a ruler for a more precise cut.
- After cutting, use your thumb to press and stretch the fabric so that it naturally curls and provide an ideal 'string' size for weaving.
Part 2: Weaving Proper
join the upcoming scheduled workshops
-

Yarn Explorations (2024)
Excited to be back for another round this year! I first offered...
-

Weaving Workshops
Weaving is one of the oldest methods of fabric production and celebrated...


